
A Document is a page where you are able to design a resource using a variety of content types.
View the overview video: New Ultra Documents

Documents use a ‘block editor’ which allows you to add content and then move and resize it as required.

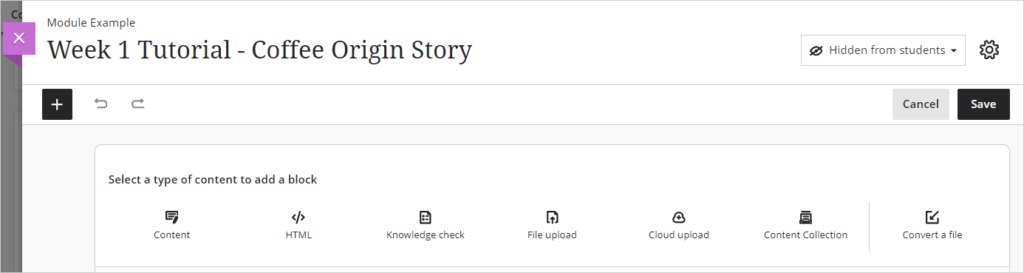
The block types include:
- Content block: add content using the content editor
- HTML block: embed HTML content such as a Padlet
- Knowledge Check: Add an MCQ to the page (available from 8 Sept)
- File upload block: upload files from your computer
- Cloud upload block: upload files from OneDrive
- Content Collection block: reuse files already uploaded to the module
- Convert a file block: upload a file form your computer which will be converted into a Document Block. Supported file types include PDF, PowerPoint and Word.

Create a Document
To create a Document
- Click on the Plus sign (+) wherever you want to add the Document on the main content panel
- Click on ‘Create’
- On the ‘Create Item’ panel, click on Document
- Add a descriptive title for the Document

The Document has now been created and you can start adding blocks.
Adding Blocks
When you create a Document it will open in edit mode. To create the first block simply click on the block type you would like to create.
Once you have created the first block, the block editor will disappear and you will need to hover the mouse pointer over the location where you want to add the next block so that the Plus sign (+) appears.
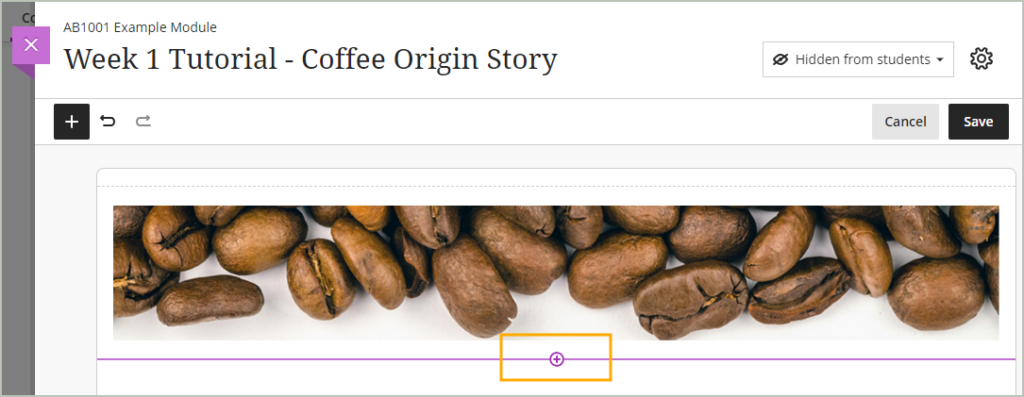
Click on the Plus sign (+) and then select another block
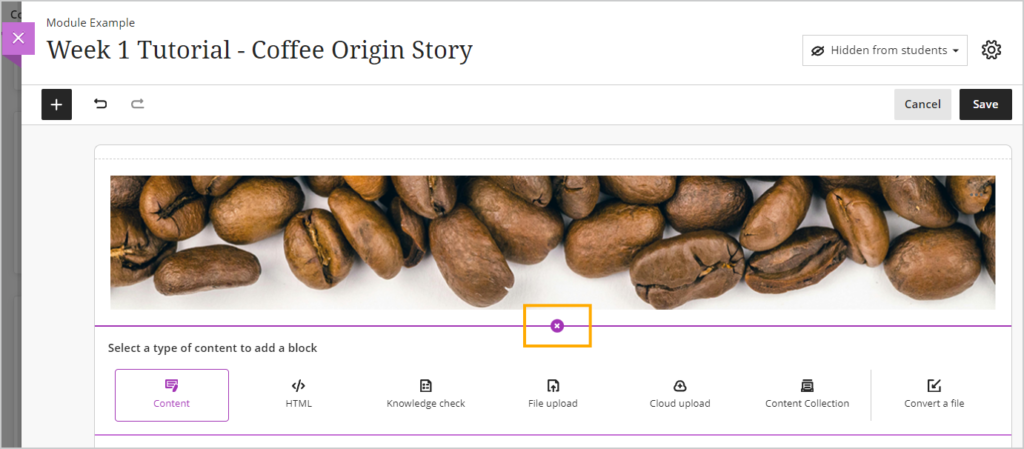
Once you have added the content you must click on ‘Save’ to save the content on the page.

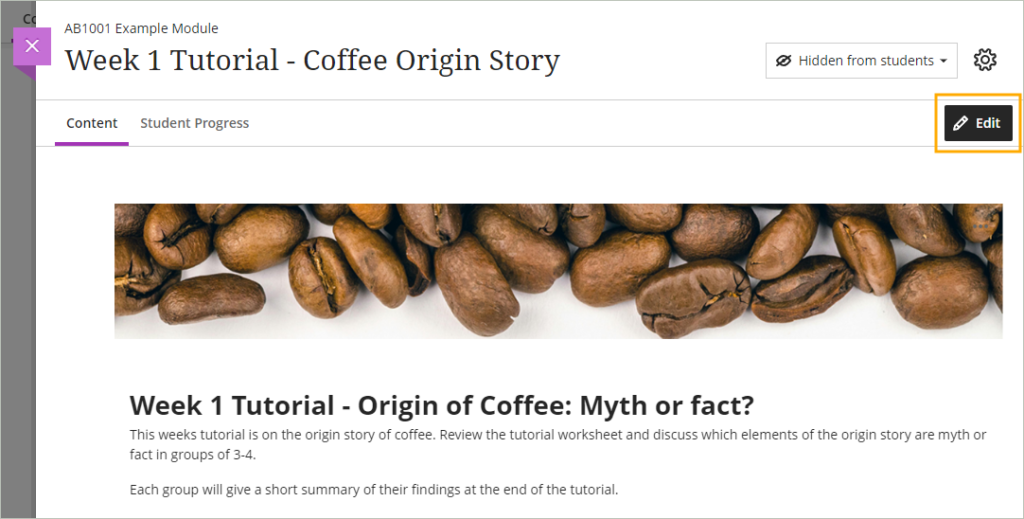
To edit or add more content to the page, click on the ‘Edit’ button.
Resizing and Moving Blocks
Blocks can be resized into four different widths and positioned next to each other to create a more interesting layout.
To resize a block, click on the arrows positioned at either side of the block and drag the arrows until the block reaches the new size.
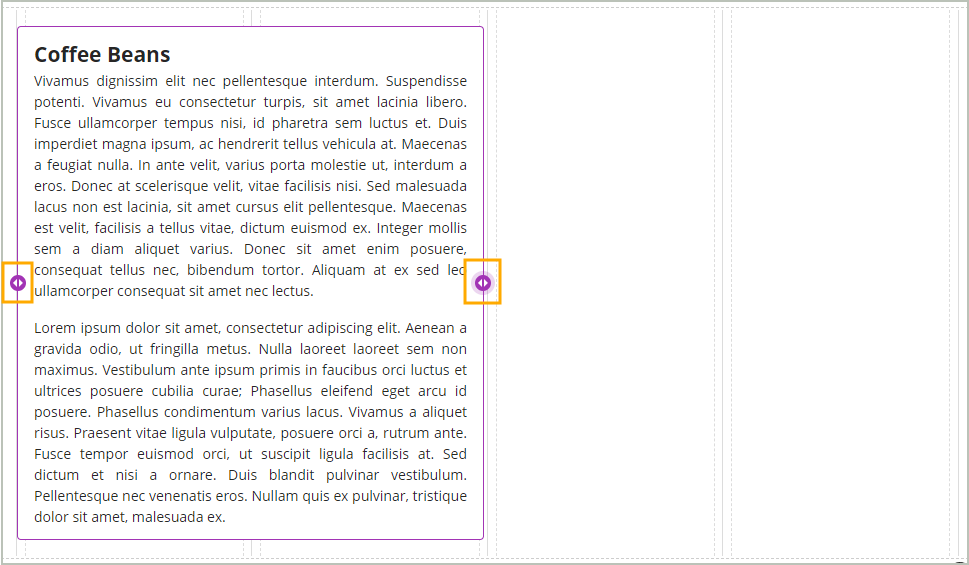
Blacks cannot be created on the same row as an existing block. If you would like to position multiple blocks on the row, first create the blocks, resize them and then move the blocks into the required position.
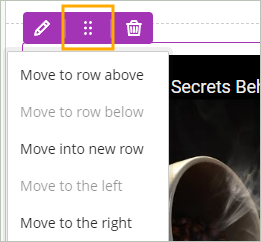
To move a block, click on the ‘Move’ icon and then choose from the available move options.
Block Types
Content
The ‘Content’ block opens the content editor which allows you to:
- add text and weblinks
- insert or generate images
- attach files
- embed YouTube videos and media
- add links to sections on the reading list
- embed Panopto videos or playlists
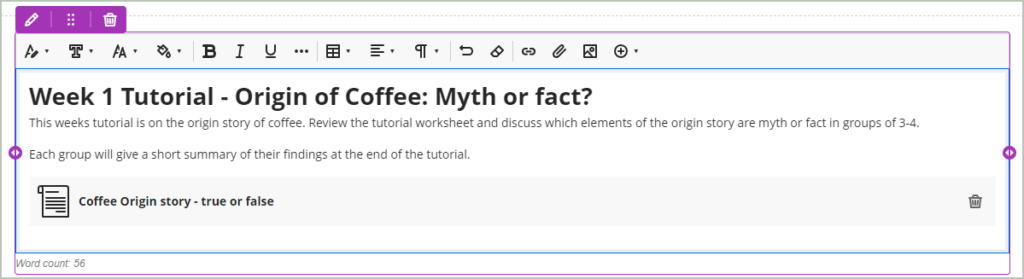
Note: Use Weblearn built-in ‘styles’ to assign headings and sub-headings in a logical structure, instead of varying font-size and weight to create ‘pseudo-headings’. This will benefit readers who make use of assistive technology to navigate Weblearn.
HTML
The HTML block allows you to embed HTML content such as a Padlet and other online tools with an embed option.
View the instructions: Share a Padlet on Weblearn
Knowledge Check (add MCQ)
To add an MCQ to the document, click on the Knowledge Check content block to open the MCQ panel
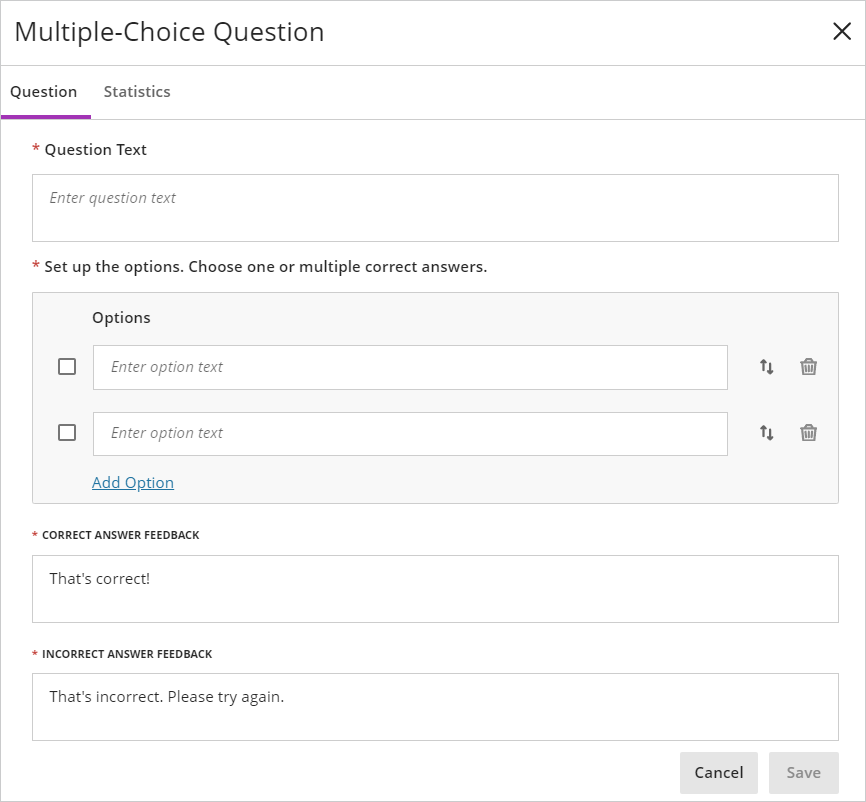
Enter the question text and answer options and then select the answer option(s) which are correct.

Optionally, modify the correct/incorrect answer feedback.
Click on ‘Save’

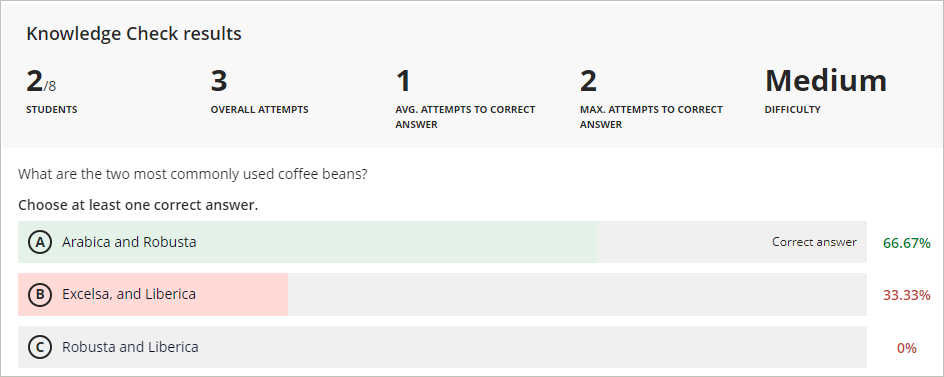
Once students have attempted the MCQ you will be able to view the attempt statistics.
File Upload
Files can be uploaded directly on the document page, or by using the attachment option in the content editor.
Note: Progress Tracking will only record the student access information for the Document as a whole and will not include if a student has clicked on and opened a file embedded into a Document.
When you upload a file Weblearn will automatically detect the file type which is being uploaded and open the relevant Edit File Options panel.

| File Option | Description |
|---|---|
| View and download | Students can click on the file Display Name and view the contents inside the Weblearn module. Students can also download the file and save it on their computer. |
| View only | Students can click on the file to view the contents inside the Weblearn module. Note: students cannot be prevented from downloading files because Blackboard Ally is available. |
| Download only | Students must download the file to access the content. |
All files should have a descriptive ‘Display name’ so students know what content to expect when opening a file.
Convert a File
The Convert a File block allows you to upload a file form your computer which will be converted into a Document Block. Supported file types include PDF, PowerPoint and Word.
Note: not all formatting will be retained when the file is converted.
Suggest document layout
The AI Design Assistant includes the suggested document layout tool which allows users to create more visually engaging document pages. The document layout suggestions can include automatically generated images and knowledge checks on the document content.
Add the content to the document using the content blocks as required
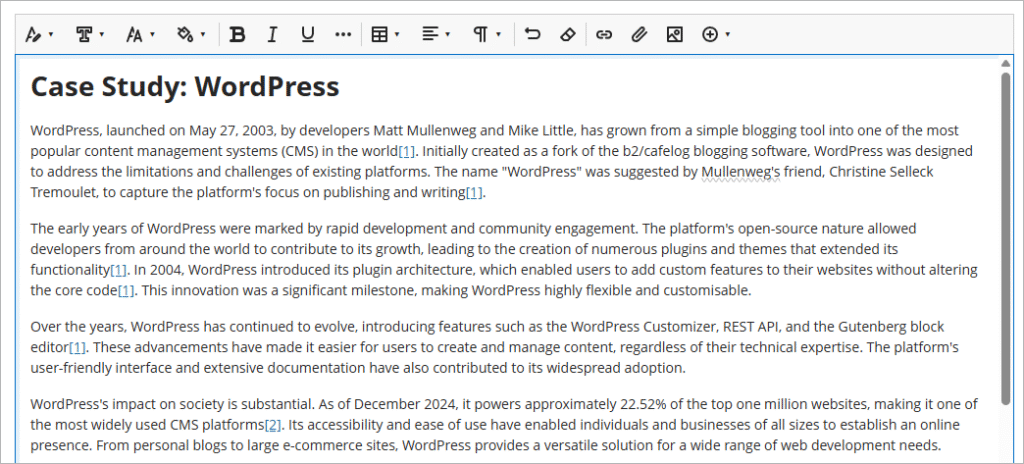
Click on the suggested document layout tool

Choose if you would like to include images from Unsplash, or Generate images and if you would like to auto-generate a Knowledge Check.
Click on ‘Generate’
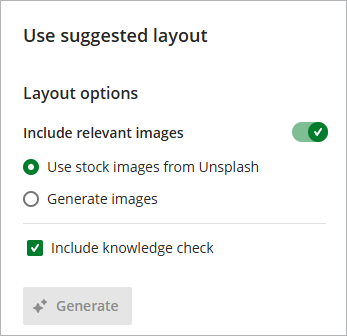
The design assistant will suggest a layout for you.
If you are happy with the layout select ‘Accept layout’
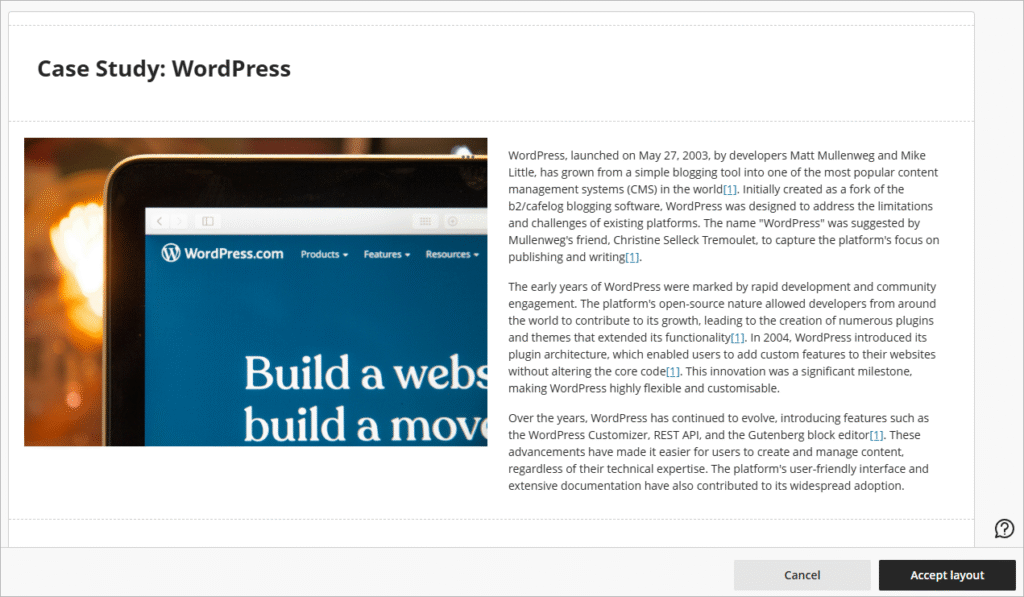
Optionally, edit the content and layout further.
Click on ‘Save’ to confirm the changes
