
The Modules and Organisations page in Weblearn displays an image for each module or organisation listed. A system generated image is displayed as default. Instructors are able to add a custom image and, optionally, set the image to display as a banner inside the module.

Add a Banner from Stock Images
Under the ‘Details & Actions’ menu, click on the Module Image option

Click on the ‘Image source’ dropdown menu and the select ‘Stock images from Unsplash’

Use the Search box to enter a prompt and search for images
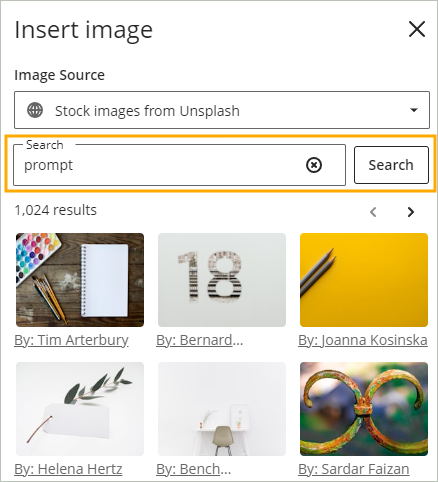
Once you have found an image you would like to use, select the image and then click on ‘Next’

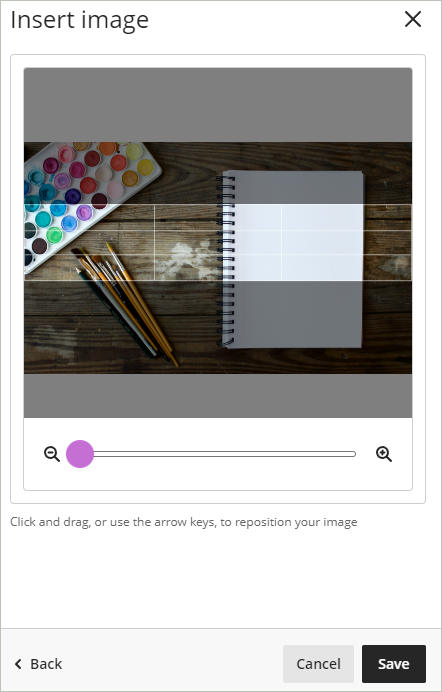
You are able to drag the image preview into position on the screen and zoom in or out until you have the view of the image you would like to use for the banner.
Select ‘Save’ to save the image as you banner.
Upload Custom Banner
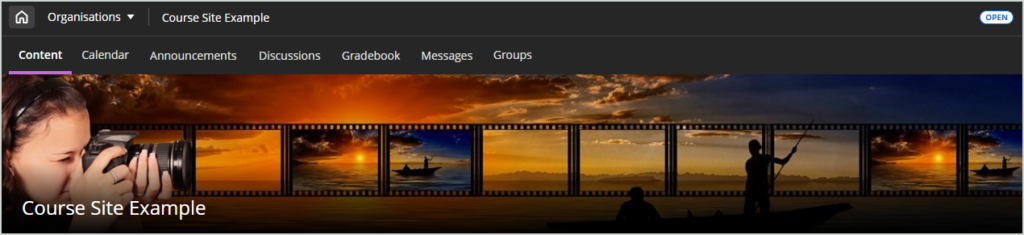
In this example a banner is added to an organisation, but banners are added to modules in exactly the same way.
- Under the Details & Actions menu select ‘Module Image’
- On the Insert image panel leave the ‘Upload from Device’ option selected and then click on Upload file’
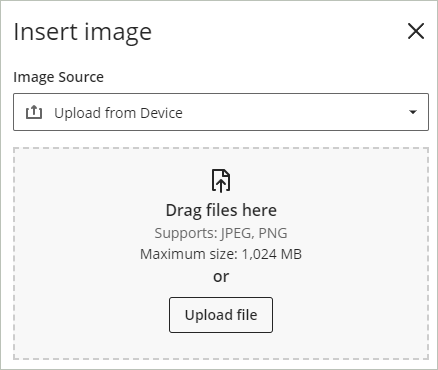
The recommended banner size is 1200px wide by 240px high
Note: avoid using text or images which convey contextual information because they will be displayed differently on different devices and optional views.
- Locate and select the image on your computer
- Position the image as required and select ‘Save’

The banner will now be displayed across the top of the Module and on the Modules page.

Banner Visibility
Module and Organisation banners are visible in two locations in Weblearn, on the Modules or Organisations page in the tile view, and at the top of the module or organisation.
The minimum image size for a custom banner is 1200px wide by 240px high.
Note: in each view the banner is cropped and/or resized depending on the screen size and device that the image is being viewed on.
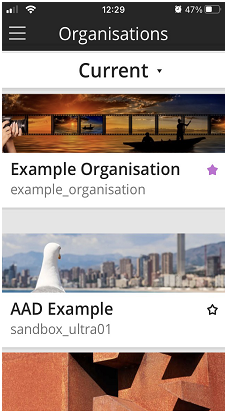
The below examples show how the banner displays in each view.
Original image:

Module page tile view:

Module banner view:
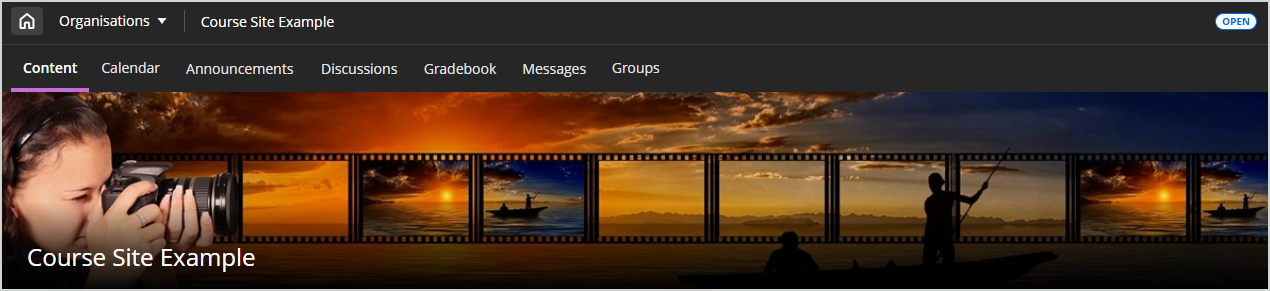
Mobile App view:
Banner template
To create a custom banner by using PowerPoint, download the template file and insert your content making sure the content you wish to be displayed on the Modules page is positioned within template guidelines.
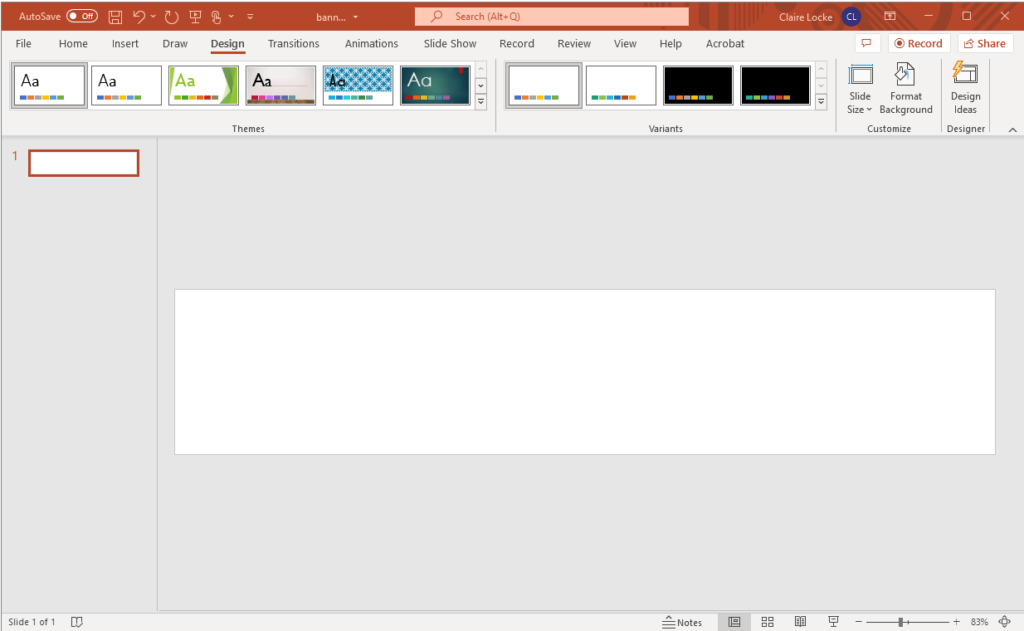
Once you have created your banner you will need to save it as an image file:
- Go to File > Save As
- Enter a file name and select .jpg from the dropdown options:

- Select ‘Save’
Copyright free images
These websites allow you to use images without seeking permission of the creator, so you are free to use and adapt them as desired.