Access Submissions from Gradebook
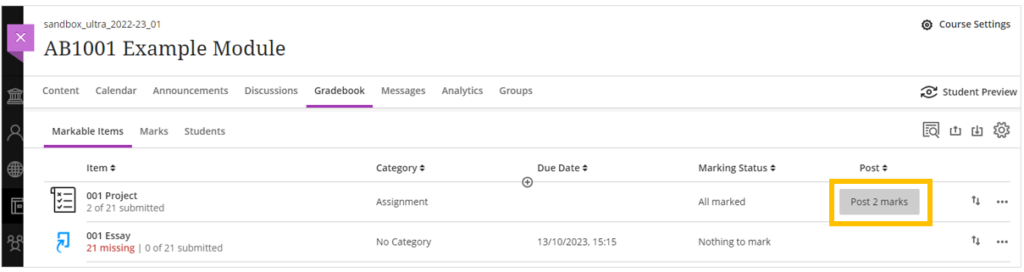
All submissions can be accessed from the Gradebook tab.

The Gradebook has three different views:
- Markable Items: lists all assessments and provides access to all submissions for the assessment
- Marks: a grid view where you can view all assessments, students and access all submissions, or select a filtered view of the Gradebook
- Students: lists all students and provides access to all submissions from the student

- In the Markable Items view of the Gradebook, click on the name of the assignment

- The assignment view opens on the ‘Submissions’ tab. Select ‘Needs Marking’ from the Marking Status dropdown to view all submissions.
The list will be split over several pages for large modules.
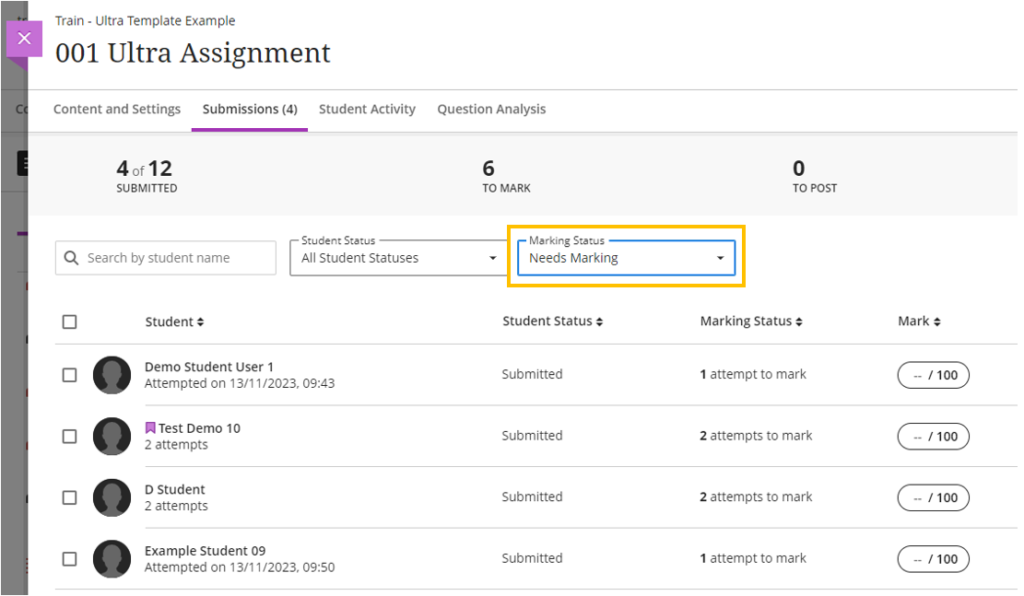
If delegated marking has been enabled for the assignment, the marker will only see the submissions for students in groups that were assigned to them.
- Click on the name of any student who has submitted an assignment to start marking.

Multiple Markers
Weblearn assignments use module groups and Delegated Marking to distribute student submissions amongst multiple markers.
The recommended options for creating marking groups on Weblearn are:
Randomly assign groups: automatically distribute all students on a module to a specified number of groups.
Create Automatic Assignment Groups
Import groups and assign members using Timetable data: import groups and assign students based on their allocated tutor or seminar group.
Import Groups using Timetable Data
To set up the option you will need to:
- Create groups on the module
- Create the Weblearn assignment
- Enable the Delegated Marking option and assign markers to each group
When each assigned marker opens the assignment they will only be able to view the students who have been assigned to their group.
Marking Submissions
The assignment marking view opens showing all students who have submitted under the ‘Students’ in the panel to the left. If delegated marking has been enabled, only the student submissions assigned to the marker will be listed.

- List of students in Student Panel
- Minimise / Maximise Student Panel
- Submission date, time and number of attempts
- Tab navigation showing a tab for each submitted file and the assessment content
- Tool bar for annotations and comments
- Maximise / minimise Feedback Panel (text comments)
- Add Final Grade
To start marking a submission:
The marking interface works best with the browser in full screen mode.
- Click on any student name appearing in the ‘Students’ panel (B) to view their submission

- Minimise the ‘Students’ panel by clicking on the grey icon with an arrow if needed
- The ‘Submitted’ field shows when the student submitted. If a student has submitted multiple attempts, it will turn into a dropdown link to access all attempts.

Only the last attempt submitted by the student needs to be marked.
- Use the tab navigation (D) at the top of the marking panel to navigate between submitted files

- Use the toolbar (E) to add comments or mark-up directly to the submitted file, and/or use the ‘Overall Feedback’ panel to leave summary comments or add a file attachment.

Maximise the browser window if you want to see all icons on the toolbar. If the browser is not maximised, the annotation icons are grouped under the ‘view annotation’ icon
- Add a final mark
You can then use the Student panel to navigate to the next student submission.
Adding annotations and comments to submitted files
Adding annotations

Pencil icon: draw directly on the file
T icon: add text directly on the file
Line icon: add shapes directly on the file
Deleting annotations from a file
Use the ‘undo’ and ‘redo’ buttons to remove or re-add the last edit made

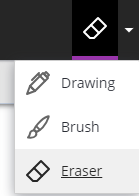
Use the ‘Eraser’ available in the pencil icon dropdown to remove any drawing
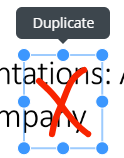
Deleting annotations from previous edits:
Make sure none of the annotation or comment tools are currently active (click on their icon to deactivate them if needed)
Select the annotation and press ‘Delete’ on your keyboard.
Adding a single comment
Click on the ‘Comment’ icon to activate the comment tool

Click on the text in the file you want to comment on.
A comment box appears. Add text to the comment box and click on ‘Save’.

If the comment box is not fully visible, maximise your screen and / or use the ‘Fit’ tool to change the way the file appears in the marking view. If Fit Width is used, comments will appear on top of the file instead of the margin next to it.

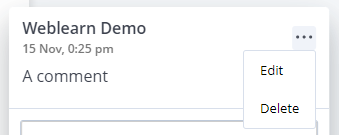
To delete a comment, click on the comment and then click on the 3 dots and select ‘Delete’.
Reusing comments from Content Library
Instructors or Teaching Assistants can add comments to the Content Library and reuse them for other submissions on the assignment.
The reusable comments are unique to each user and will be available across modules and assignments that the user has access to.
Click on the Content Library icon on the annotation toolbar and then click the Plus (+) sign to create a new re-usable comment.

Add text for the comment and click ‘Add Comment’. Comments can also be categorised.

The comment now appears in the Content Library.
To add the comment to a submission:
Open the Content Library and click on the 3 dots of the comment you want to place
Select ‘Place Comment’

Click on the location on the file where you want to place the comment. The comment will appear and you can add additional text before saving it.

Releasing Marks and Feedback
Marks for Ultra Weblearn Assignments need to be posted manually from the Gradebook. Posting marks will give students access both marks and feedback.
Only post marks once all submissions have been marked to make sure all students get access to their feedback at the same time.
Once all submissions have been marked, open the Gradebook in the ‘List’ view and locate the assignment.
The Marking Status for the assignment will show as ‘All Marked’.
Click the Post Mark button for the assignment to release marks and feedback to all students.