
Assignments can be used for group submissions where one student submits on behalf of the group. Once one student has submitted, all students in the group will be able to see the submission and receive individual and group feedback.
Note: the enable Turnitin option is not available for group assignments.
Creating Groups
The options available for creating groups include:
- Manual assignment: an instructor can manually add students to the group
- Automatic assignment: students are randomly added to a group based on a pre-set criteria
- Self-enrolment groups: Students can add themselves to groups
- Import with CSV file: this is an advanced option designed for managing large cohorts of students where automatic assignment groups are not appropriate.
To create a group, click on the Groups tab at the top of the module, select ‘New group set’ and select the group set option you require.
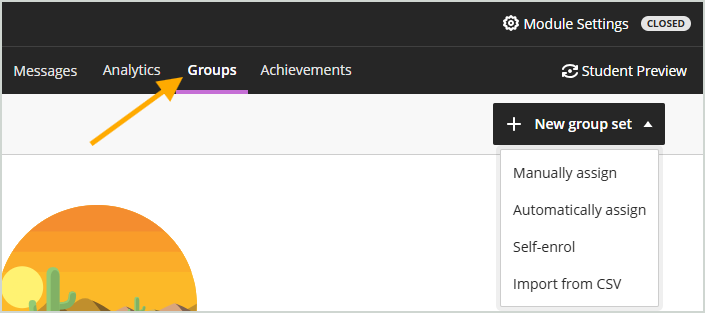
Configure the group options as required by the group type selected:
- manual assignment
- automatic assignment
- self‑enrolment
- import with a CSV file
See the Groups help page for instructions on how to create groups.
Create Group Assignment
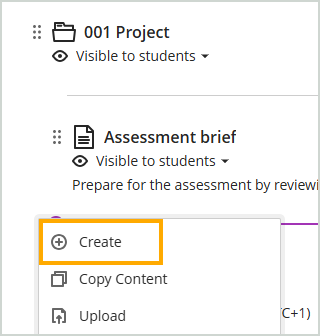
Click on the Plus (+) sign in the relevant assessment component folder and select ‘Create’
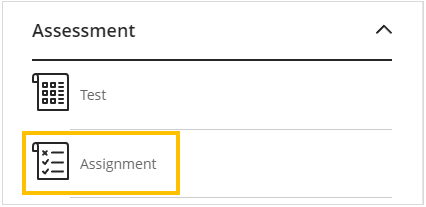
On the Create Item panel scroll down to the Assessments section and select ‘Assignment’
Add the name of the assignment using the naming convention for draft, on-time, resit or reassessment submission points, eg ‘001 Project’ for on-time or ‘001R Project (Resit)’ for resit submissions.
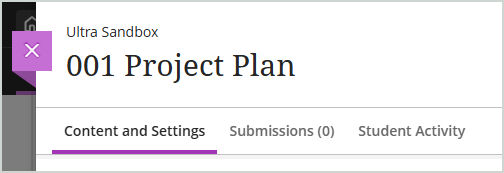
Enter the submission instructions into the ‘Instructions’ text box and then select ‘Save’
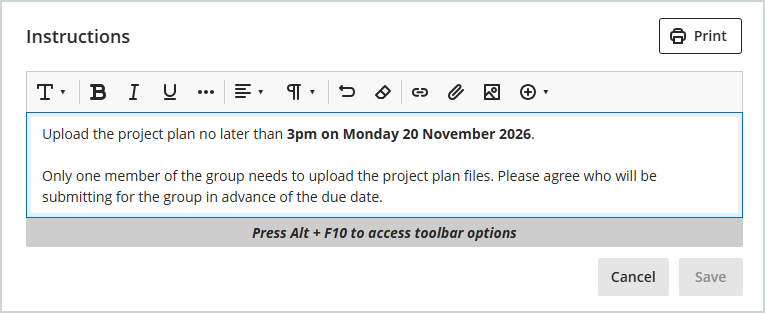
You can now configure the assignment settings.
Assignment Settings
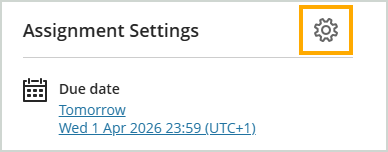
To access the Assignment Settings, click on the settings wheel icon to open the settings panel.
Under the Details & Information section set:
- Due date to the date shown on e:Vision and due time to 15:15
- Select ‘Prohibit new attempts after the due date’
Note: it is not possible to ‘Prohibit late submissions’ for group assignments.
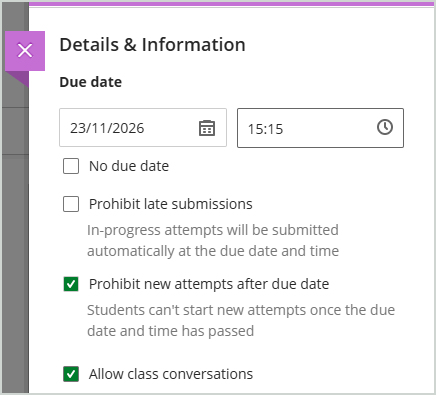
Optionally, select ‘Allow class conversations’. When this option is selected students can choose to start a conversation with the entire class, or only with students in their group.
Under the Submission details section you need to select the ‘Allowed format for online submissions’ option depending on what students need to submit.
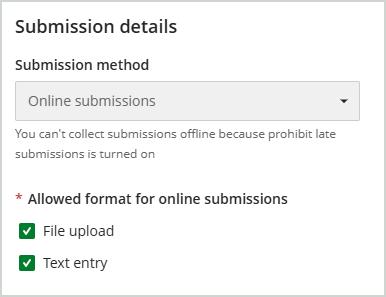
| Submission format | Option |
|---|---|
| Files only (not including video files) | File upload |
| Video submissions and/or text only | Text entry |
| Submit video and/or text and files | File upload Text entry |
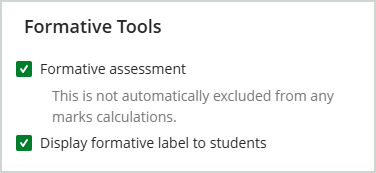
Formative assessments only: select ‘Formative assessment’
Under the Marking & Submissions section set the ‘Attempts allowed’ to 3 or more.
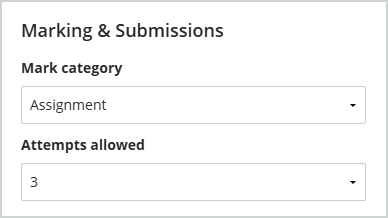
Leave the remaining options for the Marking & Submissions area as default.
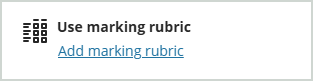
Under the Additional Tools section, optionally select ‘Add a marking rubric’ to add a Rubric to the assigment
Next, click on the ‘Assign to groups’ option

If you have not yet created the groups you will now need to create the groups.
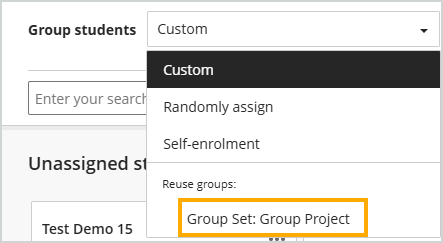
Otherwise, click on the ‘Group students’ dropdown menu and select the group set you want to add to the assignment, then click on ‘Save’
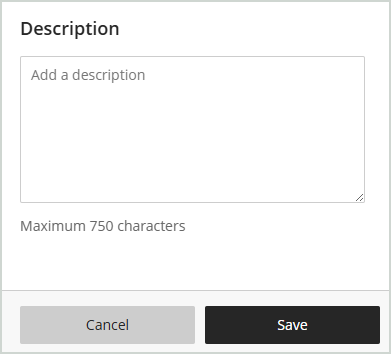
Optionally, add a description. This will be displayed underneath the link to the assignment in the assessment folder.
Click on ‘Save’
The assignment is now ready to be made visible to students.